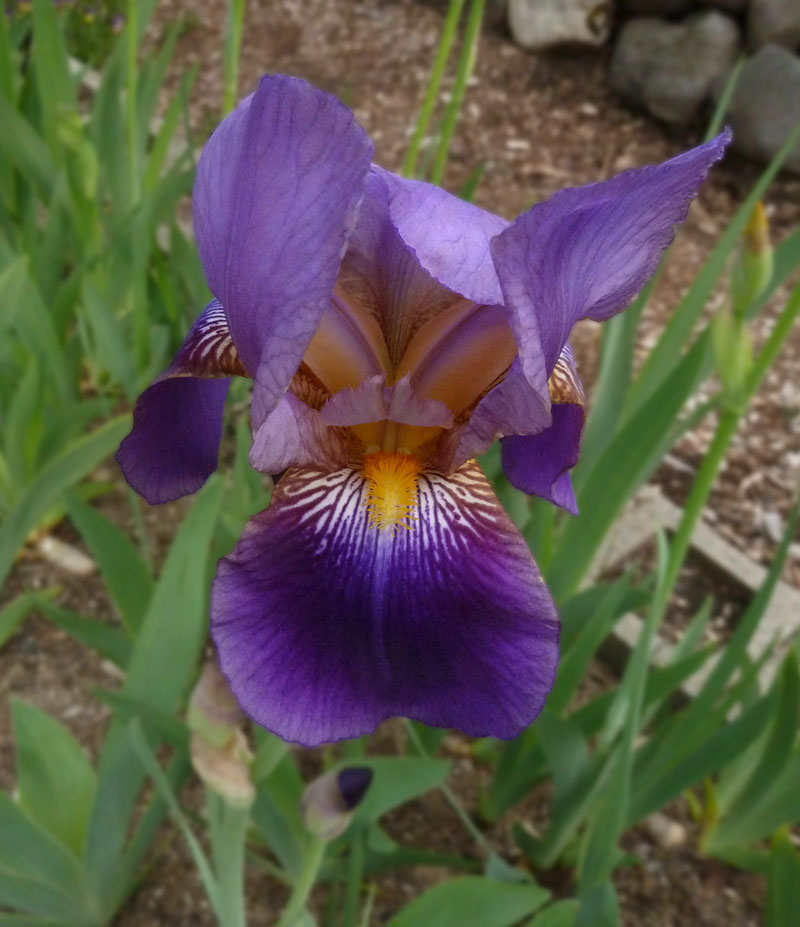
This photo of the iris was taken in a low light situation but the camera’s wide-angle lens still generated more depth-of-field than I wanted. (The flowers in the background detracted from the focus of the image). The solution was to select the flower, inverse the selection so the background was selected, and then apply a Gaussian blur focus so the background became less distracting. How to select the flower is the point of this post.
The Quick-Select tool was pretty easy to use, and I just dragged the cursor around the perimeter of the flower and did some touching up. The touch-up process was to first save the selection, inverse the selection, and then press the “Q” key to mask the flower. Selecting the brush tool (b), I then painted more (white) or less (black) mask using the black and white foreground/background colors. With the flower layer selected, playing with the blur was easy.
Using Color Range (Select Menu) probably would have been easier since there was very little other purple in the photo, so one click pretty much selected the same area as Quick-Select tool. It was merely a matter of “painting” with the tool to select desired areas (to mask).

